Role-based access control (RBAC) is an approach that restricts system access to resources based on user roles.
Leveraging Kublr RBAC capabilities, an administrator can create roles that prevent users from accessing specific resources. For example, a role can be created that allows a user to view and update clusters, but does not allow deleting them. Roles can be created in global scope (affect all spaces) or space scope (affect a specific space in which it is created).
By default EVERYTHING is DENIED, RBAC entities are used only to ALLOW specifiс actions.
Thus when reading the description below, any conflicts are resolved by combining ALLOW rules.
The main entities of Kublr RBAC are:
Space is an isolated area of the Kublr system where objects (clusters, credentials etc.) are stored separately, so the things do not mix up. Spaces may be used to separate objects created by different users, for different purposes, with different priority (prod, qa, dev), etc.
Role describes a set of permissions in the system. For example, this can be “Administrator” or “Read Only User” or “Superman”. A role by itself does not specify users or groups to which it will be later bound (via Role Bindings). There are:
Global Role (Space set to “All Spaces”) defines access to global (non-space) and space resources. Can be later bound to Users/Groups by:
Space Role (Space set to some space) defines access to space resources. Can be later bound to Users/Groups only by the Space Role Binding of the same space.
For details on different role types and examples, refer to Kubernetes documentation, Using RBAC Authorization aticle.
A role is a set of Rules.
Each Rule takes one or several Resources and says what is ALLOWED for them.
The table below describes the list of permissions:
| Verbs | Synonyms | Meaning |
|---|---|---|
| All Actions | All Actions | - |
| List | List | See the object name in lists or menus where it is presented. |
| Get | Read | Open the object page and see its content, parameters. |
| Post | Create | Create an object of this type. |
| Put | Update | Change the object content, parameters. |
| Delete | Delete | Delete the object. |
Resource is what is presented within Kublr. There are:
See resources list and description in the sections below: Global Resources and Space Resources.
User is an account to log into the Kublr. A user can belong to one or several Groups. Managed via Keycloak administrative interface.
Group is a bunch of Users. Managed via Keycloak administrative interface.
| Resource | Description |
|---|---|
| globalrole | Security > Roles > Global Role Standard CRUD** rights check. |
| globalrolebinding | Security > Roles > Global Role Binding Standard CRUD rights check. |
| space | Space Standard CRUD rights check. |
| kcpconfig | Settings (left menu) Standard CRUD rights check. |
** CRUD - in IT, create, read, update, and delete (CRUD) are the four basic data operations.
| Resource | Description |
|---|---|
| cluster | Cluster Specification GET: - Cluster List Page - Open Cluster (also requires cluster/id) POST: - Cluster List Page - Add Cluster PUT: - Edit Cluster Page - Save Changes - Edit Cluster Page (onprem) - Delete Instances Group - Cluster Specification Page - Create Cluster - View Cluster Page - Rollback Cluster DELETE: - Edit Cluster Page - Delete Cluster - View Cluster Page - Delete Cluster |
| cluster/id | Cluster Specification by ID GET: - Cluster List Page - Open Cluster (works with cluster) |
| cluster/applications | Cluster page > Applications tab |
| cluster/metrics | Cluster metrics |
| cluster/register | Deprecated: Not used |
| cluster/deregister | Deprecated: Not used |
| cluster/config | Kubernetes Config GET: - View Cluster Page - Download Kube Config File |
| cluster/admin-config | Kubernetes Config with administrative permissions GET: - View Cluster Page - Download Kube Config File |
| cluster/proxy | Proxies’ requests to cluster GET: - View Cluster Page - Dashboard Link |
| cluster/admin-proxy | Proxies’ requests to cluster with administrative permissions GET: - View Cluster Page - Dashboard Link |
| cluster/dashboard | Kubernetes Dashboard GET: - View Cluster Page - Dashboard Link |
| cluster/admin-dashboard | Kubernetes Dashboard with administrative permissions GET: - View Cluster Page - Dashboard Link |
| cluster/terminal | Terminal with different tools (kubectl, helm, curl, net-tools …) GET: - View Cluster Page - Open Web Console |
| cluster/admin-terminal | Terminal with different tools with administrative permissions GET: - View Cluster Page - Open Web Console |
| secret | Credentials (left menu) Standard CRUD rights check. |
| secret/test | Test current credentials LIST: - Secret List Page - Test Credentials Button |
| backup | Backup Specification Standard CRUD rights check. |
| backupconfiguration | Backup Config Specification Standard CRUD rights check. |
| event | Cluster page > Events tab |
| spacerole | Security > Roles > Space Role Standard CRUD rights check. |
| spacerolebinging | Security > Roles > Space Role Binding Standard CRUD rights check. |
| space | The name of space for resources Standard CRUD rights check. |
In this example:

…global role allowing to see spaces and clusters in the lists and open their pages is bound with the user “jsmith-junior” via the space role binding related to “jsmith” space. This will lead to the user “jsmith-junior” being able to see only the “jsmith” space in the spaces menu. Within this space the user will be able to see the list of clusters and open the page of each cluster to view information about it.
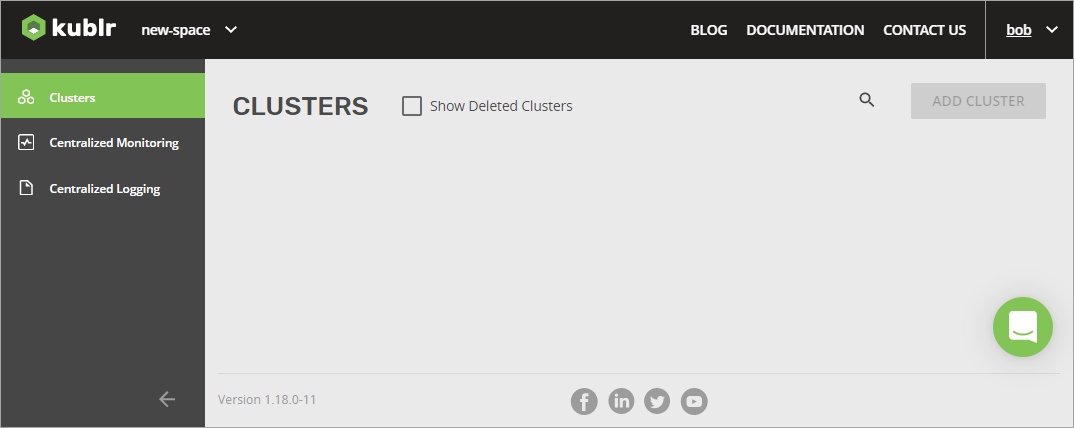
In this example we will configure a security so that in Kublr, the user “bob” will be able to log in and view the “new-space” space.
Keycloak provides administrators with control over the users. To access the Keycloak administrative screen of your Kublr:


Then click Administration Console and provide your Keycloak credentials.
Using Keycloak, an administrator can create new users and assign them into groups. Kublr creates two user groups for you: KublrDefaultUser and KublrFullAdmin. By default, every new user (not admin) is assigned to a group KublrDefaultUser. This means that every new user has a certain set of permissions assigned by default. User groups help put multiple users in the same category. An administrator is able to create more user groups if required.
Using the user groups and Kublr RBAC an administrator is able to link restrictions to a group of users. For more information about groups in Keycloak, click here.
To create a new user:
In Keycloak, on the left menu, click  .
.
Click the Add User button.

Fill out the form and click Save to create a new user.
After the user is created you can view the groups the user is assigned to by navigating to Groups tab.

On to the Credentials tab, set password. Write it down to use later with the “bob” user.
Turn off the Temporary option.
Click Save Password.
Add a space:
In Kublr, on the left menu, click Security. The SECURITY page is displayed.
Use the Spaces tab.
Click CREATE SPACE. The Create Space dialog is dislayed.
In the Create Space dialog, set Space Name to “new-space”.

Click CREATE.
The SECURITY page, its SPACES tab, is displayed. The new space is added to the list and automatically selected to be displayed in the system.

In Kublr, on the Security page, the Roles tab, an administrator is able to view global roles and space roles. By default Kublr creates a standard set of roles for you. Those roles are:

Let’s create a global role which will allow viewing clusters in spaces.
Click the  button. The Add New Role dialog is displayed.
In the Add New Role dialog, set:
Click ADD NEW RULE. The Add New Rule dialog is displayed.
In the Add New Rule dialog, from the Resources list, select:
Now we will specify the Verbs which define what kind of permissions you would like to provide for the selected resources. In our case, let’s only provide an ability to view the clusters within spaces but not to update or delete them.
In Verbs, select List and Get.

Click CREATE. The Add New Rule dialog is closed. In the Rules section, the new rule is displayed.

In Add New Role dialog, click SAVE ROLE. The SECURITY page, its ROLES tab, is displayed. The new rule is added to the list.
Now that the role is created, we need to bind the user called bob with that role. This can be accomplished by using Role Bindings.
Now we will bind the “bob” user to the previously created “my-new-role” role and in the same time limit this role scope to the only space: “new-space”.
Make sure, you are at the SECURITY page.
Use the ROLE BINDINGS tab.
Click ADD NEW ROLE BINDING. The Add New Role Binging dialog is displayed.
In the Add New Role Binging dialog, set:
Click ADD NEW SUBJECT. The Add new subject dialog is displayed.
In the Add new subject dialog, set:
Click SAVE SUBJECT. The Add New Role Binging dialog is displayed again with the new user added to the Subjects section.

Click SAVE ROLE BINDING.
The SECURITY page, its ROLE BINDINGS tab, is displayed. The new binding is added to the list.
To check the result:
Login under “bob” with your previously written down password.
On the top bar, from the list of spaces, select “new-space”.
On the left menu, click Clusters.
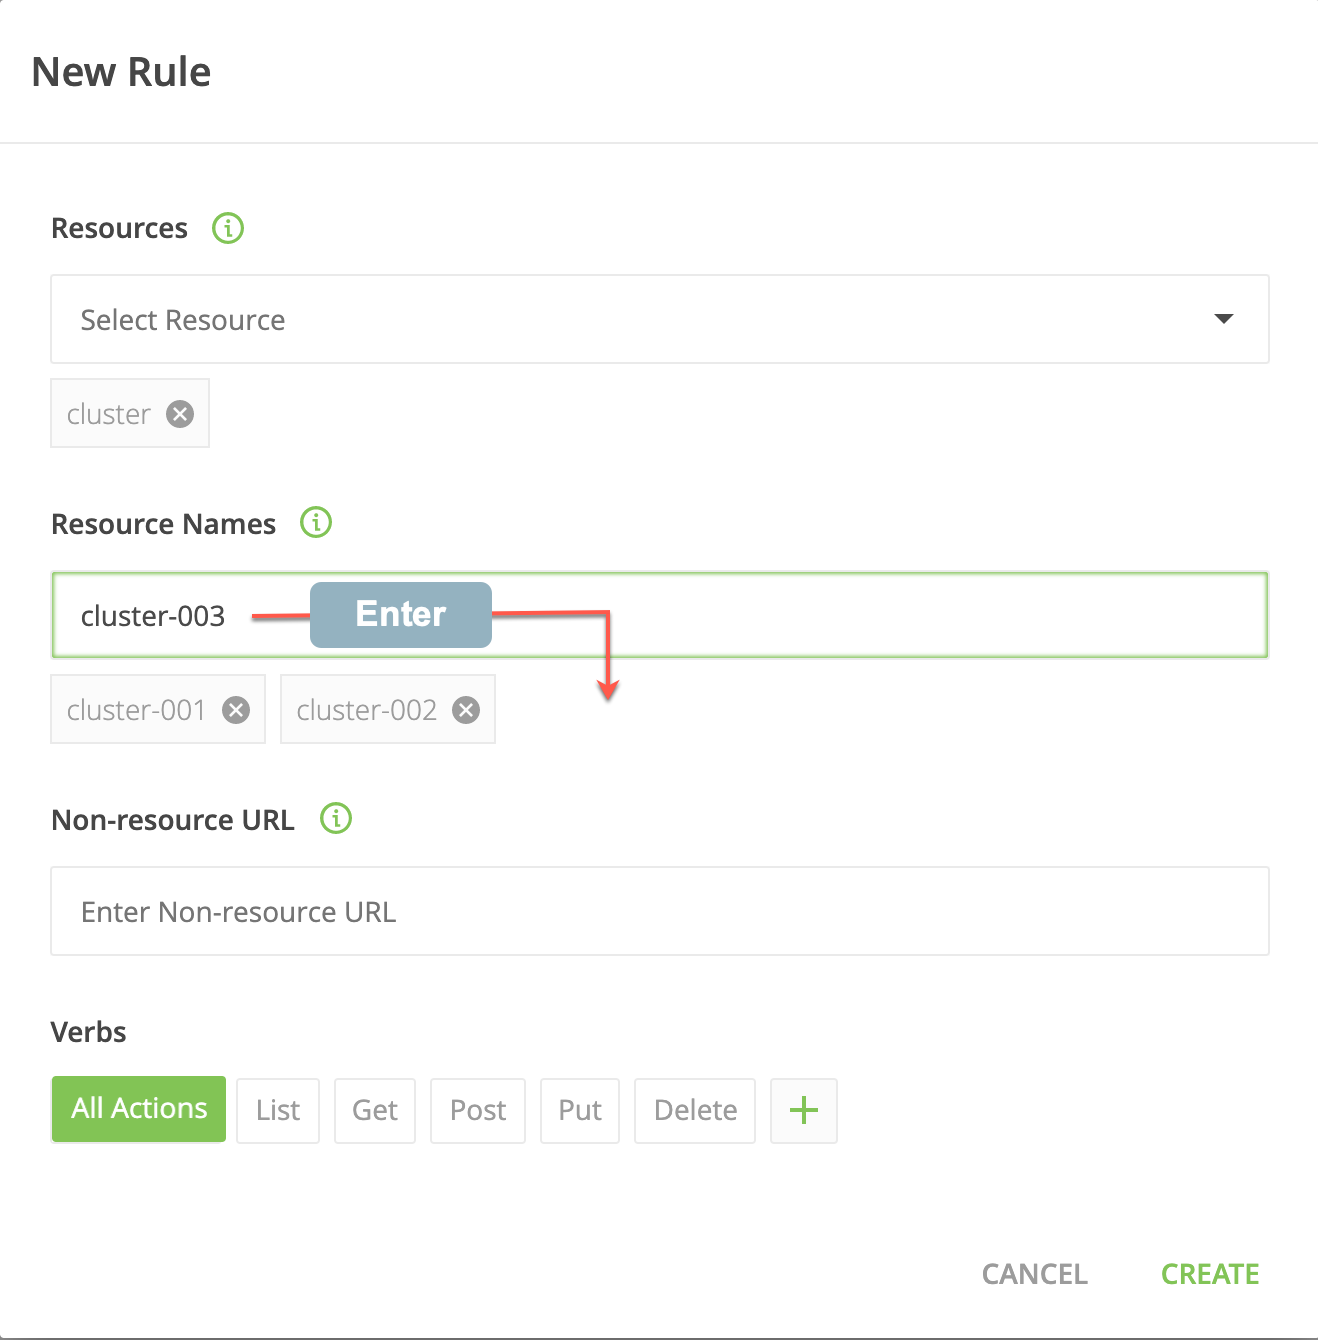
You can perform additional rule configuration (at Security > Roles > some role > existing or new rule) using the following fields:
Resource Names - an optional whitelist of names to which the rule applies. For example, these are names of allowed clusters if the “cluster” resource was selected. An empty set means that everything is allowed.
Non-resource URL - Set of partial urls that a user should have access to. *s are allowed, but only as the full, final step in the path.
Notes
- Since non-resource URLs are not namespaced, this field is only applicable for Global Roles and will only work with Global Role Bindings.
- Rules can either apply to API resources (such as “clusters” or “secrets”) or non-resource URL paths (such as “/metrics”), but not both.
Examples
In this example, for the user/group bound to the role with this rule only cluster-001, cluster-002 and cluster-003 clusters will be available:
And this configuration provides the user/group bound to the role with this rule with the list and get permissions for the /metrics URL:

You should consider that if you change something for a user (password, group membership, binding to a role, rules in currently bound roles) and this user has an active session (logged into Kublr), the new settings will only be applied after user’s re-logon into the system.
